Porcelain veneer placement is a transformative cosmetic dentistry procedure that can correct chips, cracks, gaps, and discoloration in your smile. With porcelain veneers, you’ll get thin, custom-made shells that bond to the front surfaces of your teeth, delivering a natural-looking, stain-resistant result [1]. In this step-by-step guide, you’ll learn everything from your initial consultation and tooth preparation to bonding, recovery, and long-term care. Whether you’re planning a custom smile makeover or combining treatments in a whitening & veneers package, this guide will help you navigate each phase with confidence.
Understand porcelain veneers
What porcelain veneers are
Porcelain veneers are ultra-thin shells made from high-quality ceramic designed to fit over the front surface of your teeth. They camouflage aesthetic imperfections like chips, cracks, gaps, and stains without covering the entire tooth structure [1]. Because they mimic light reflection in natural enamel, veneers deliver a lifelike smile that resists staining better than composite materials.
Benefits and limitations
When you choose porcelain veneers, you enjoy several advantages:
- Highly aesthetic and natural appearance
- Durable and stain-resistant surface
- Long lifespan (10–15 years with proper care)
- Minimally invasive compared to full crowns
However, porcelain veneers have some considerations:
- Irreversible enamel removal
- Potential for initial sensitivity
- Higher cost than composite alternatives
- Not suitable for severely damaged teeth
| Characteristic | Porcelain veneers | Dental crowns |
|---|---|---|
| Coverage area | Front tooth surface only | Entire tooth structure |
| Enamel removal | Minimal (0.3–0.7 mm) | More extensive reduction |
| Aesthetic outcome | Very natural appearance | Good, with added strength |
Plan your treatment
Initial consultation
Your journey begins with a thorough cosmetic dental evaluation. During this visit, your dentist will:
- Review your medical and dental history
- Examine tooth alignment, bite, and gum health
- Take X-rays or 3D scans
- Discuss your smile goals and budget
This step ensures veneers are right for you and identifies any preliminary treatments you may need, such as gum contouring.
Cosmetic smile design
Once your evaluation is complete, you can preview your new smile with digital smile design software. Working closely with a smile design dentist, you’ll:
- Adjust tooth shape, size, and proportion
- Select veneer style and translucency
- Visualize before-and-after simulations
This collaborative process lets you fine-tune every detail before any tooth alteration.
Treatment plan approval
After finalizing your smile design, your dentist will present:
- A detailed treatment timeline
- Cost estimates and financing options
- Any pre-treatment requirements (e.g., gum contouring)
Once you approve the plan, your porcelain veneer placement journey moves to the preparation phase.
Prepare your teeth
Tooth evaluation
Before enamel removal, your dentist confirms your oral health is stable. If needed, you may undergo:
- Cavity treatment
- Periodontal therapy
- Gum contouring cosmetic for a balanced gum line
Enamel removal and shaping
To ensure a precise fit, a thin layer of enamel—often less than the thickness of a fingernail—is gently removed from the front of each tooth [2]. This creates space for the veneer and roughens the surface for stronger bonding.
Taking impressions
With your teeth reshaped, your dentist captures detailed impressions using:
- Digital intraoral scanning, or
- Traditional putty materials
These molds are sent to a dental lab, where your custom veneers are crafted to match your smile design.
Fabricate your veneers
Temporary veneers
While your permanent porcelain shells are in the lab, temporary veneers protect your prepared teeth and maintain aesthetics. They also give you a preview of the final shape and color.
Laboratory customization
Expert ceramists use your impressions to fabricate veneers that reflect your unique dental anatomy. They layer porcelain to achieve lifelike translucency and stain resistance. This process typically takes 1–3 weeks.
Shade selection
Before final bonding, you and your dentist will confirm the ideal shade under natural daylight. Proper isolation and shade matching ensure your veneers blend seamlessly with surrounding teeth.
Bond your veneers
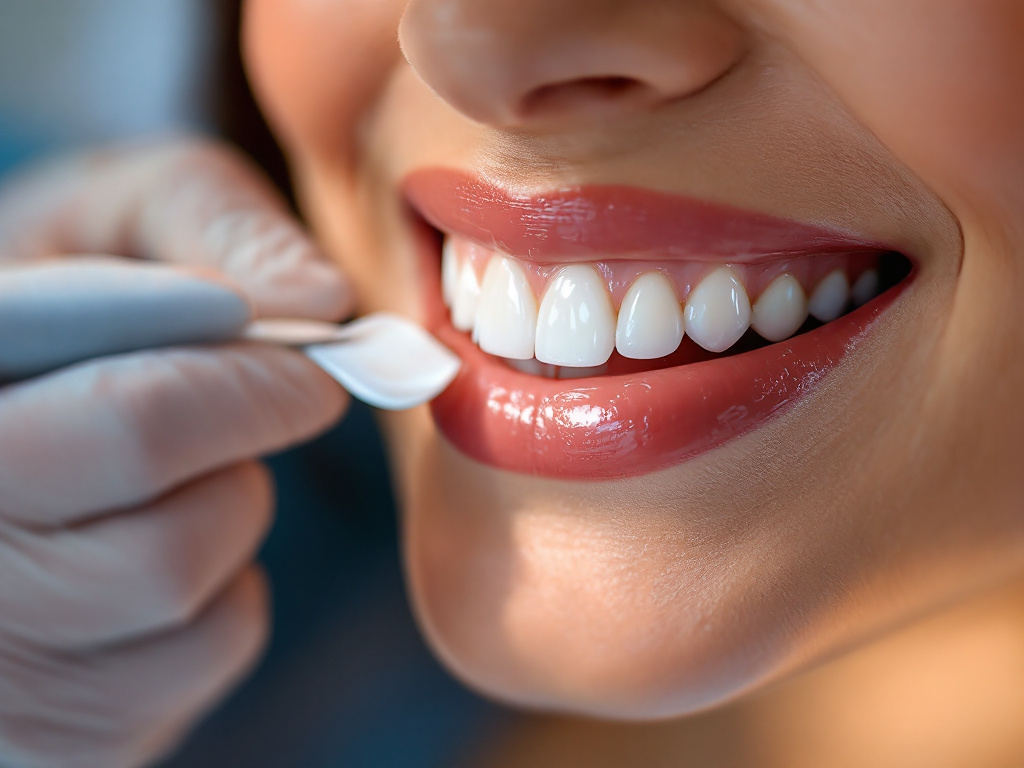
Fit check and adjustments
At your placement appointment, each veneer is placed temporarily to verify:
- Perfect fit and margin
- Comfortable bite alignment
- Desired shape and length
Minor adjustments are made to ensure comfort and function.
Surface treatment and bonding
Your dentist prepares both the tooth and veneer surfaces:
- Etch the tooth enamel to create micro-roughness
- Apply bonding agent to the tooth and veneer
- Position the veneer precisely on the tooth
A high-strength dental cement locks the veneer in place.
Final curing and polishing
A specialized curing light activates the adhesive, ensuring a durable bond. Once cured, your dentist removes excess cement and polishes the veneers for a smooth, natural finish.
Recover from placement
Initial discomfort and sensitivity
Mild sensitivity to temperature changes is normal after veneer bonding. You may experience tenderness for the first 24–48 hours. Using desensitizing toothpaste helps relieve discomfort [3].
Diet and activity guidelines
To protect your new veneers during the healing period:
- Avoid very hard, sticky, or chewy foods
- Refrain from extreme hot or cold beverages
- Skip alcohol for 24 hours if sedatives or pain meds were used
You can resume most normal activities immediately once anesthesia wears off.
Managing sensitivity
If sensitivity persists beyond a few days, over-the-counter pain relievers and a soft-bristle brush can help. Most patients adapt fully within two weeks [4].
Care for your veneers
Daily oral hygiene
Maintain your veneers by:
- Brushing twice daily with a soft brush and non-abrasive fluoride toothpaste
- Flossing gently to avoid gum irritation
- Rinsing after dark-colored foods and drinks
Long term maintenance
Keep your veneers in top shape by:
- Visiting your dentist for routine exams and cleanings
- Wearing a nightguard if you grind your teeth
- Addressing any chipping or wear early
Avoiding damage
Porcelain is strong but not indestructible. To prevent damage:
- Don’t use your teeth as tools
- Avoid biting into hard objects (ice, nuts, pens)
- Wear a mouthguard for sports
Combine cosmetic services
Whitening and veneers
You may choose a whitening & veneers package to brighten your natural teeth before veneer placement. This ensures your surrounding teeth match the porcelain shells for a uniform smile.
Bonding and contouring
For minor chips or uneven edges, combining porcelain veneers with veneers and bonding services or gum contouring cosmetic can refine your smile’s symmetry and proportion.
With this comprehensive guide, you now understand each step of porcelain veneer placement, from planning and preparation to bonding and long-term care. To explore your options and start your smile transformation, schedule a consultation with a trusted cosmetic dental clinic or reach out to a confidence smile dentist near you. Your new smile awaits.